
Keep PDFSTOOLZ Free
If we saved you time today and found PDFSTOOLZ useful, please consider a small support.
It keeps the servers running fast for everyone.
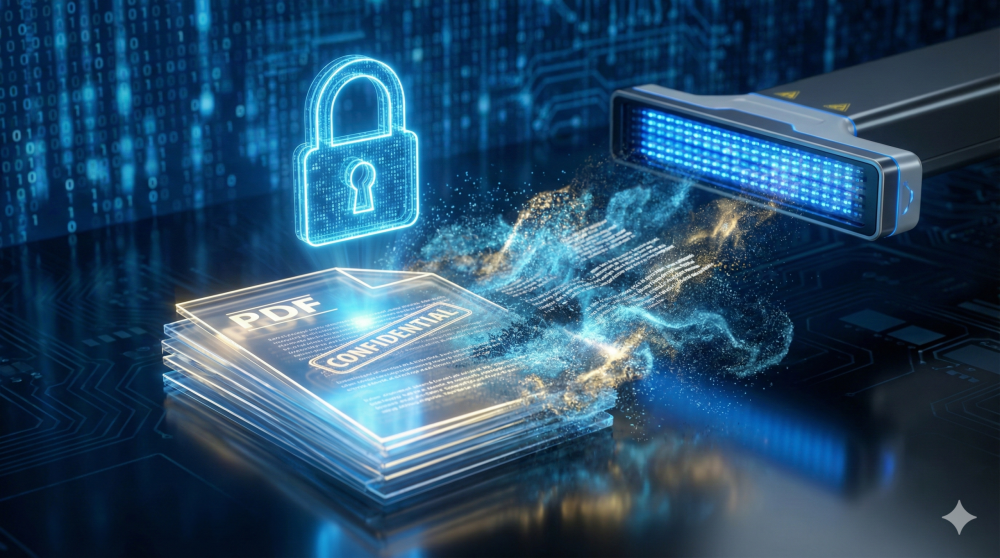
🔒 100% Secure & Private.
Imagine this scenario. You have just finished a grueling negotiation. The contract is signed. However, there is one problem. The document contains sensitive bank account numbers and personal addresses that shouldn’t be shared with the wider team. You quickly open the file, draw a black box over the text, save it, and hit send. You feel secure.
Unfortunately, you just made a massive mistake.
The person receiving that file can simply copy the text “underneath” your black box and paste it into a blank document. Suddenly, your secrets are revealed. This happens more often than you think. In fact, high-profile lawyers and government agencies have suffered embarrassing leaks due to this exact error.
We need to stop treating digital documents like physical paper.
In this guide, we will explore exactly how to permanently redact sensitive data from PDFs. We will look at why simple masking fails, the role of metadata, and the specific tools you need to ensure your private information stays private.
The “Black Marker” Fallacy: Why Masking Fails
When you take a physical marker to a piece of paper, the ink soaks in. It obscures the information physically. Digital documents work differently. A PDF is built in layers.
When you use a standard drawing tool to place a black rectangle over text, you are essentially just putting a sticker on top of the words. The computer still reads the text layer underneath that sticker. Consequently, search engines, screen readers, and copy-paste functions can still access the original data.
To safely share documents, you must burn the redaction into the file structure. This process removes the underlying code for those specific characters.
Real-World Example: The “Copy-Paste” Disaster
Let’s look at a specific real-world example. Several years ago, during a high-profile legal investigation involving political consultant Paul Manafort, lawyers released a document with several lines blacked out.
Journalists downloaded the PDF. They highlighted the blacked-out sections. They copied them. Then, they pasted the text into a standard text editor. Within seconds, the “redacted” information was public news.
This wasn’t a hacking incident. It was a failure to permanently redact sensitive data from PDFs. It highlights why using the wrong tool is dangerous.
Understanding Metadata and Hidden Layers
Redaction isn’t just about what you see on the page. It is also about what lives in the background. Every PDF contains metadata. This can include:
- Author names
- Creation dates
- Edit history
- Previous versions of the text
If you use a tool to edit pdf files, you might inadvertently save previous versions of the document within the file history. True redaction software scrubs this Metadata clean.
Furthermore, hidden layers can contain OCR (Optical Character Recognition) text. If you scan a document and then “black out” the image, there might still be a hidden text layer generated by OCR that remains searchable.
Step-by-Step: How to Permanently Redact Sensitive Data from PDFs
So, how do you do it correctly? You have two main options: professional redaction tools or the “flattening” method.
Method 1: The Professional Redaction Tool
Most premium PDF editors have a specific “Redact” tool. This is different from a “drawing” or “shape” tool.
- Select the Redact Tool: This marks the text for deletion.
- Apply Redactions: The software will usually put a red outline around the text.
- Sanitize and Save: This is the critical step. You must “apply” the redaction. The software will warn you that this cannot be undone. It physically removes the text code and replaces it with a dead pixel block.
However, professional software can be expensive. If you are on a budget, you might look for free alternatives. Be careful, though. Ensure the tool specifically says “sanitize” or “burn in.”
Method 2: The “Flattening” Technique (My Personal Favorite)
If you don’t have expensive software like Adobe Acrobat, you can use a workaround. This is my preferred method for absolute certainty. It involves converting the PDF into an image and then back to a PDF. This merges all layers into one single pixel layer.
Here is the workflow:
- Open your PDF.
- Place black boxes over the sensitive text using any editor.
- Use a tool to convert the pdf to jpg.
- Download the images. At this point, the text is no longer text; it is just colored pixels. The “text” underneath is gone because the file format changed.
- Convert the jpg to pdf.
This method ensures that no hidden text layers survive. It is a “nuclear option” for privacy. The downside is that you lose the ability to select or search the rest of the text. However, if privacy is your priority, this is a foolproof way to permanently redact sensitive data from PDFs.
Pros and Cons of Manual vs. Automated Redaction
Deciding between manual flattening and automated software can be tricky. Here is a breakdown to help you decide.
| Feature | Automated Redaction Software | Manual “Flattening” Method |
| Security Level | High (if used correctly) | Extremely High |
| Searchability | Retains searchability of non-redacted text | Removes all searchability (unless re-OCR’d) |
| Cost | Usually requires paid subscription | Often free with online tools |
| Metadata | Often scrubs metadata automatically | Metadata is destroyed during conversion |
| Speed | Fast for large documents | Slower, multi-step process |
Handling Scanned Documents
Scanned documents present a unique challenge. They are essentially pictures of text. If you need to redact a scan, you simply need to draw over the image before you apply OCR.
If you apply OCR first, you create a hidden text layer. If you then draw a black box over the visual image, the text layer remains. Always redact the image before making it searchable.
Additionally, if a document contains too many sensitive pages, it might be safer to simply remove them entirely. You can remove pdf pages that contain the sensitive info, rather than risking a bad redaction job.
The Legal Importance of Proper Redaction
Failing to permanently redact sensitive data from PDFs isn’t just embarrassing; it can be illegal. Regulations like GDPR in Europe and various privacy laws in the US mandate strict control over personal data.
If you leak a client’s Social Security number or medical history because you used a highlighter tool instead of a redaction tool, you are liable. The fines can be astronomical.
Moreover, in the legal field, e-discovery rules require that you produce documents without revealing privileged information. A “leaky” PDF can ruin a court case.
Best Practices for Document Hygiene
Beyond just redaction, you should practice good document hygiene.
1. Work on Copies
Never redact the original file. Always make a copy first. Once you apply a permanent redaction, the data is gone forever. If you make a mistake, you will need the original.
2. Verify the Redaction
Before sending the file, test it. Open the redacted PDF. Try to select the text over the black box. Try to copy and paste it into a Notepad file. If nothing pastes, you are safe.
3. Clean the Metadata
Even if the text is gone, the file properties might show who created it and when. Ensure your tool removes this “hidden” data.
4. Organize Your Files
Keep your redacted and unredacted files in separate folders. It is very easy to accidentally attach the wrong version to an email. Use tools to organize pdf files efficiently so you don’t mix them up.
Advanced Tips: Pattern Matching
Some advanced software allows you to permanently redact sensitive data from PDFs using pattern matching. You can tell the software to look for:
- Social Security numbers (patterns of 3 digits – 2 digits – 4 digits)
- Email addresses
- Credit card numbers
This automation is a lifesaver for huge documents. Imagine trying to find every phone number in a 500-page medical record manually. You would miss one. Automation catches them all.
However, robots aren’t perfect. Even with automation, a human review is necessary.
Alternative: Converting to Other Formats
Sometimes, the best way to handle a PDF is to get it out of PDF format entirely for the editing phase.
You can convert the pdf to word. Once it is in Word, you can simply delete the sensitive text entirely. Replace it with the word “[REDACTED]”.
Then, save it back as a PDF. This removes the data completely because you deleted it from the source. However, be careful with “Track Changes” in Word. If you delete text while tracking changes, and then save as PDF, the tracked changes might appear in the final document’s comments or metadata. Always turn off “Track Changes” and accept all changes before converting.
Conclusion: Safety First
Data privacy is not a luxury; it is a necessity. The myth that a black rectangle protects you is dangerous. To ensure security, you must destroy the data, not just hide it.
Whether you choose to use professional sanitization software or the “flattening” method of converting to images, the goal is the same: zero recoverability.
Take the extra five minutes to verify your documents. Use reliable tools to permanently redact sensitive data from PDFs. Check your work by trying to copy-paste.
Your reputation, your clients’ safety, and your legal standing depend on doing this right. Don’t let a simple black box be the reason you face a data breach lawsuit.